Physical locations where outdoor camp programming takes place.
While
YMCA Branches may offer some form of summer day camp, they differ from facilities that primarily host programs related to outdoor camps. The Camp content type also enables editors to create sub-sites or “microsites” using a separate menu structure.
If you are an independent YMCA camp or you’re an Association with one or more locations dedicated to outdoor camp, the Camp Content Type serves well as a landing page for those locations.
What about Branch Day Camps?
There are several considerations for Branches that host Day Camps in the center:
The Branch content type is intended to be the home page for branches.
Adding a Branch listing and a Camp listing for the same physical location creates duplicate listings for your center and could have search implications.
Camp pages don’t have fields for operating hours or amenities.
Branch Day Camps, unlike outdoor camps, tend to be listed in the same CRM as other branch-based programs, and therefore could integrate into Activity Finder, provided the CRM’s compatibility.
Title (required): This is the name of your branch, which will display as your page title and the title in the location card.
There is no separate field for the full name of your facility (e.g., Joe C. Davis YMCA Outdoor Center) versus the common name (Camp Widjiwagan). The best practice would be to use the shorter, more common name for readability.
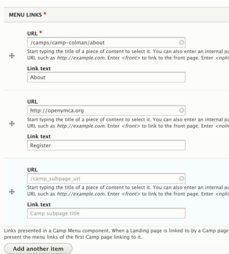
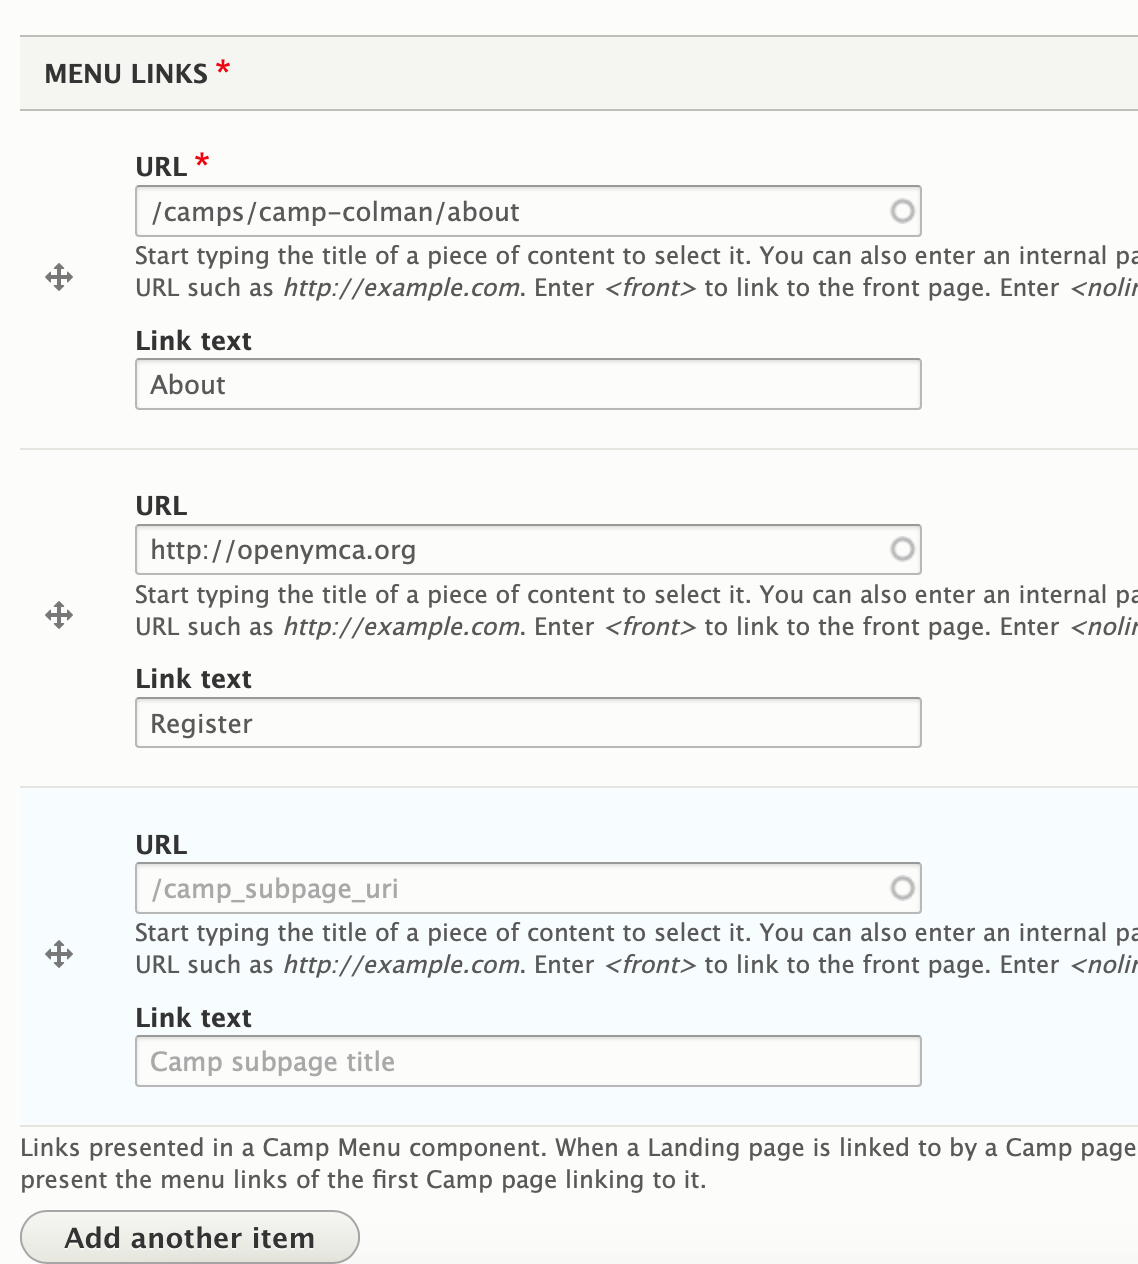
Menu Links (required): Add in the URL or name of the content you want to link your
Camp Menu to (you must use the Camp Menu paragraph for this to work). This field is not used with Layout Builder.Read more about Camp Menu ⇒
Contact Info
Address (required): The physical address of your location. Be sure to include all address fields.
Camp coordinates (required): This field pins your camp on the locations map.
See
Branch for details on how to find your camp coordinates.
Phone (required): The main phone line for your branch. Will be displayed as it is entered and linked to allow mobile users to tap to call.
Fax: Optional.
Email: We recommend you use a main contact email, such as info@example.com, rather than the email for an individual staff member.
Directions: By default, a link with directions is auto-generated using the Address field. Use this field to substitute your own directions link.
Header Area
There is no image field for the Camp content type, so you will need to add one of the following paragraphs to add an image and title at the top of your page:
Beginning in Website Services 9.3, content editors have the option of customizing the Camp page with
Layout Builder. You can migrate from using Paragraphs to using Layout Builder on a camp-by-camp basis in order to ease the transition.
The Use Layout Builder checkbox on the Camp edit page non-destructively switches between Paragraphs and Layout Builder. If the checkbox does not appear, ensure the Y Camp (y_camp) module is installed at Admin > Extend (/admin/modules).
Camp Menus
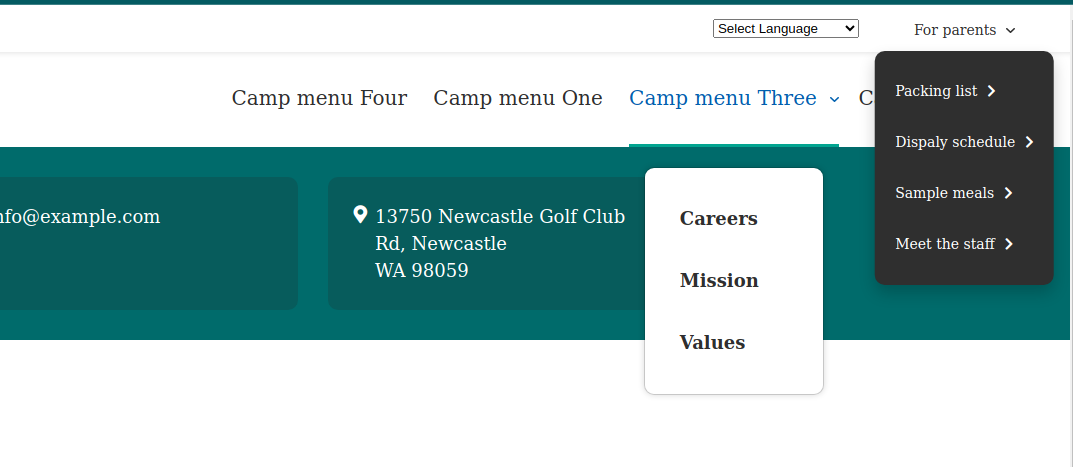
The Camp page is often used as a landing page for a microsite with additional information - schedules, packing lists, and other camp-specific pages.
We have two camp-specific menus that help build this structure.
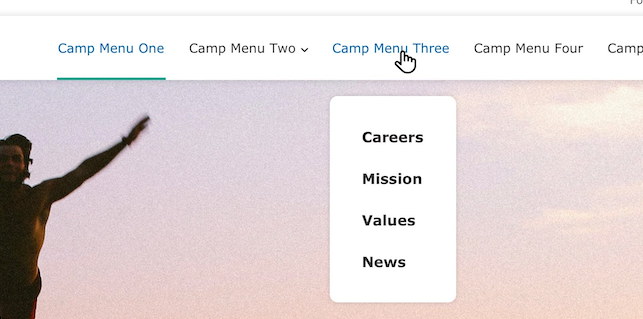
Camp Menus allow you to provide a two-level menu in the header of each Camp page and subpage.
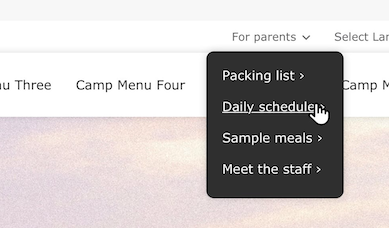
Camp Quick Links provide a single-level utility menu for additional camp information.
Camp Quick Links
After setting Use Layout Builder for your Camp page, navigate to the Layout tab. You need to configure the Camp Quick Links in two blocks in order for them to properly display on desktop and tablet/mobile.
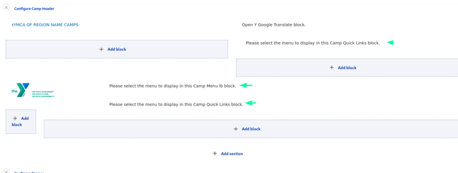
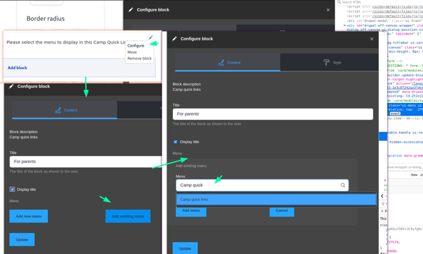
Configure the first block
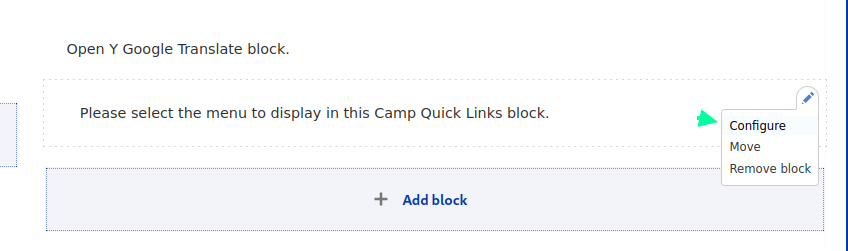
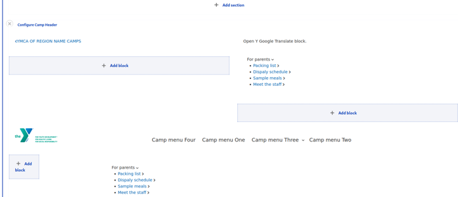
In the Configure Camp Header section, you will see placeholders for each of the menu blocks that say Please select the menu to display in this Camp Quick Links block.
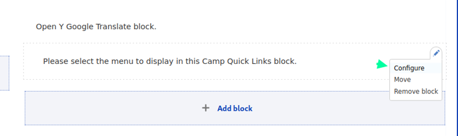
Using the on the first Camp Quick Links block, click Configure.
In this menu, you can create a new menu or add an existing one that you’ve made in the Menus administration (/admin/structure/menu). To create a new menu, fill in these fields:
Title (required) - the title of the Quick Links menu to be displayed in the Utility Navigation.
Display title - must be checked in order for the Quick links to display properly.
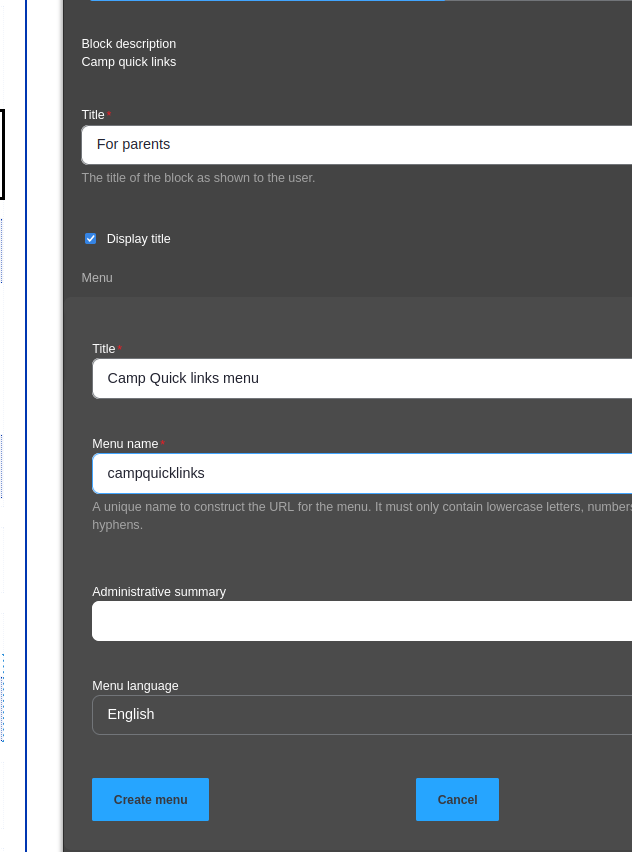
Click Add new menu, then set up the new menu:
Menu Title (required) - the administrative name of the menu. Like Camp Coleman Quick Links.
Menu Name (required) - the machine name of the menu, using only lowercase letters, numbers, and hyphens. Like camp-coleman-quick-links.
Administrative summary - is optional and only used in the menu admin.
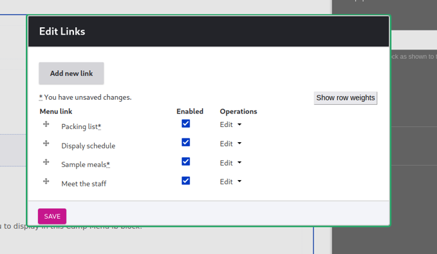
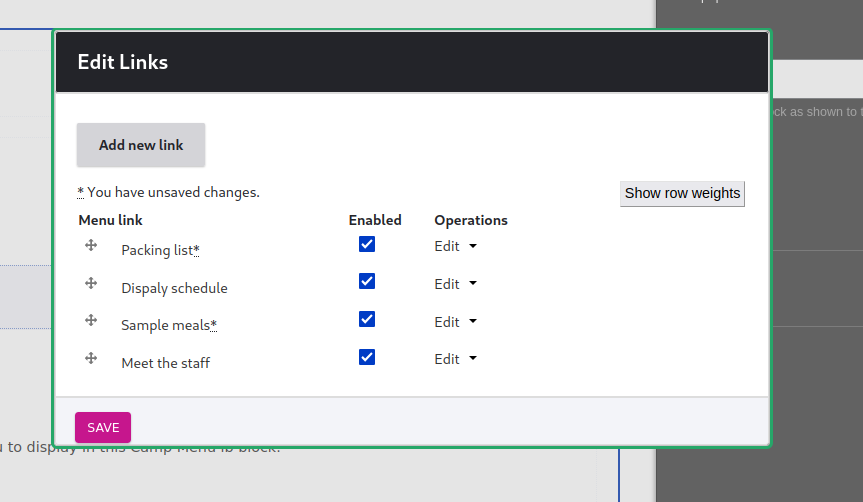
Click Create menu, then click Edit links to add items to the menu.
In the Edit links popup you can add and reorder links in the menu.
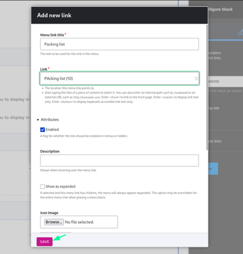
For each new link:
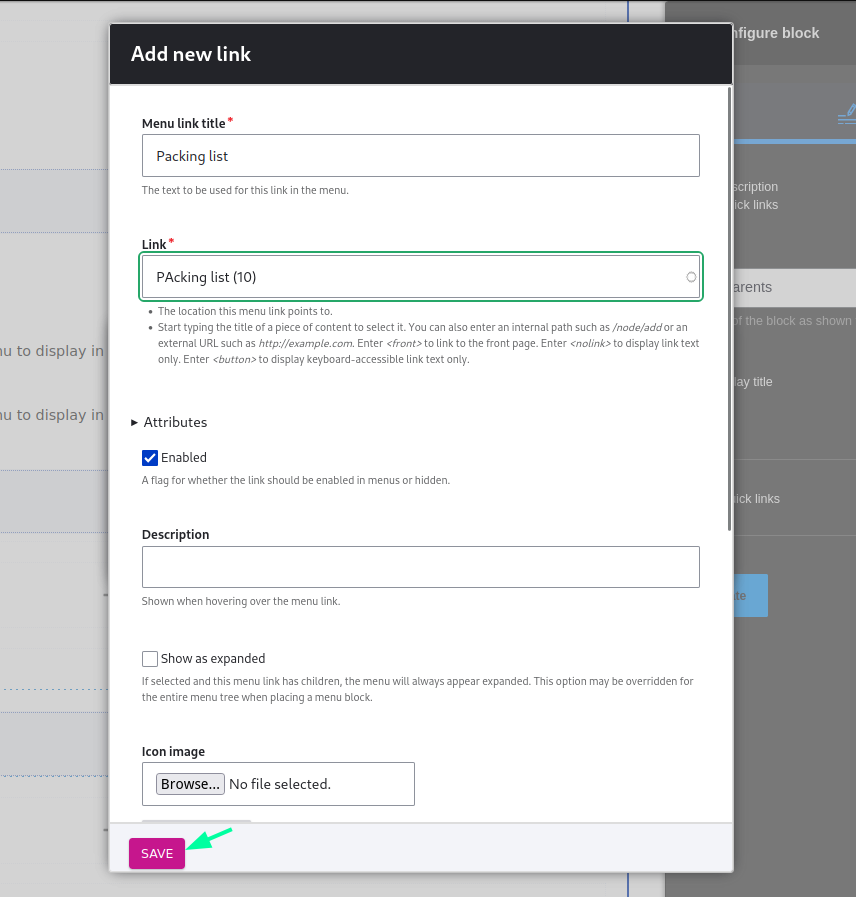
Click Add new link
Menu link title is the text displayed.
Link is the internal page or external url that the link points to.
Enabled allows you to temporarily hide a menu item.
Show as expanded should be checked for any parent items. There is no harm in always checking this.
Other fields can be ignored.
Save when you are finished.
Use the drag handles to rearrange or nest menu items.
Note: Parent items must have Show as expanded checked in order to display child items.
When you are finished adding and rearranging menu links, Save.
Finally, save all the changes with Update.
Configure the second block
Find the second place that says Please select the menu to display in this Camp Quick Links block in the Header Section.
Using the on this block, click Configure.
As before, configure the block:
Add the same Title as the first block.
Ensure Display title is checked.
Click Add existing menu then start typing the name of the menu you created in the previous block and select it in the autocomplete dropdown.
Click Add menu to save the selection.
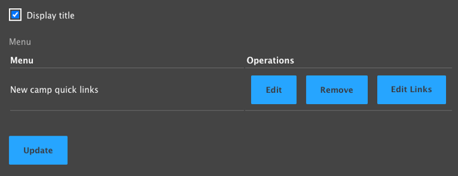
Once the existing menu has been added, you will see the Edit, Remove, and Edit Links options. Once you see those, you can Update to save these changes.
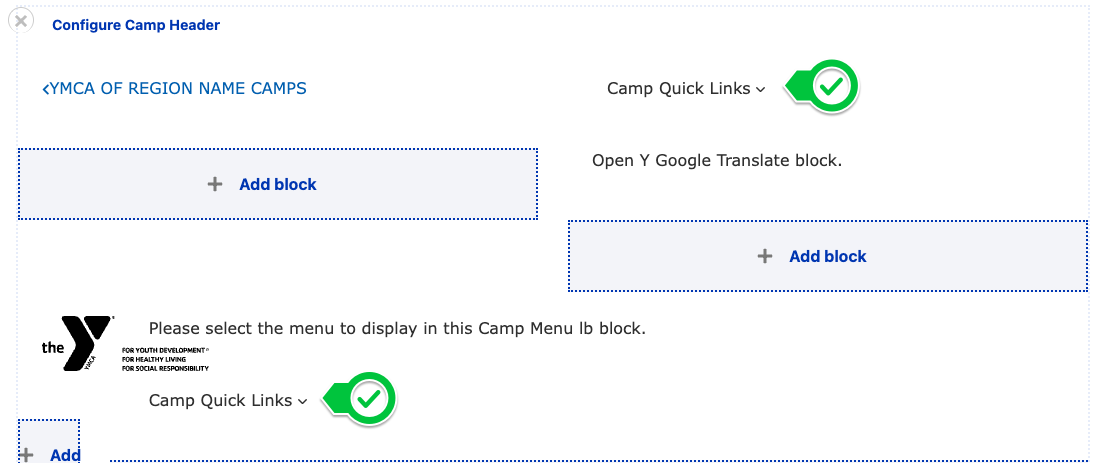
Once you have completed the process you will see your Quick Links menu displayed in two sections of the Header. This will ensure that the menu is displayed properly across all displays.
Camp Menu
Find the final placeholder that says ... Camp Menu ...
Configure the block.
Create a new menu or choose an existing one using
the steps above.
Update, then Save Layout at the top of the page.
Now your Camp page is populated with all of its menus!
Camp Landing Pages
The Camp Subpage (formerly “Camp Landing Page”) content type allows you to create internal pages for your camp section or microsite. Once you’ve created the parent Camp page, you are ready to creat additional Camp Subpage pages.
Go to Content > Add Content > Camp Subpage
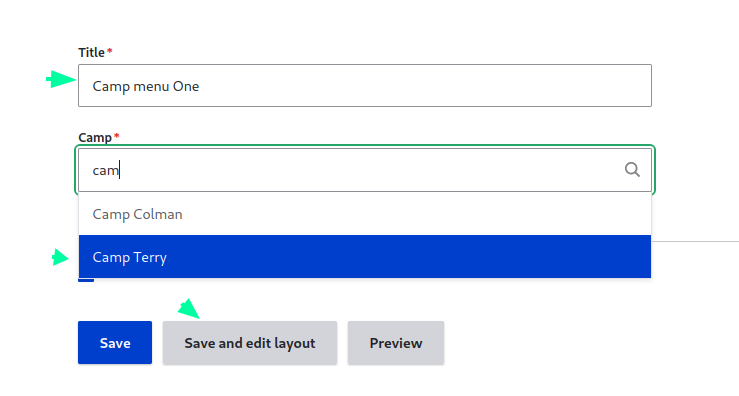
Set the Title
In the Camp field, begin typing the name of the Camp page that will be the parent page, then select the item from the autocomplete dropdown.
Click Save and edit layout.
You will now see the Layout Builder editor with the menus from your Camp page pre-populated in the layout.
Add additional content using
Layout Builder, then click Save layout
Note: The menu references on Camp Subpages are copied to the header when the page is created. Any updates to those menus (new items, reordering) will be reflected on all subpages, but later changes to the blocks (removing the menu altogether, changing the linked menu) will need to be made on both Camp and Camp Landing Page pages separately.
Camp Subpage are not automatically added to the Camp Menu of their corresponding Camp. Be sure to add the newly created Camp Subpage to the Camp Menu so that it’s properly linked.
Layout Builder Blocks
Camp pages have a number of specialized components that utilize the structured data (fields) that already exist on your branch page in newly designed Layout Builder Blocks.
In addition to using many of the standard
Layout Builder components, Camp pages also use a number of components that display fields described above.
Camp Info Block
The Camp Info Block is automatically added to the Body section of each Camp page. It displays content from the Contact Info section. It can be rearranged on the page but is not otherwise configurable.
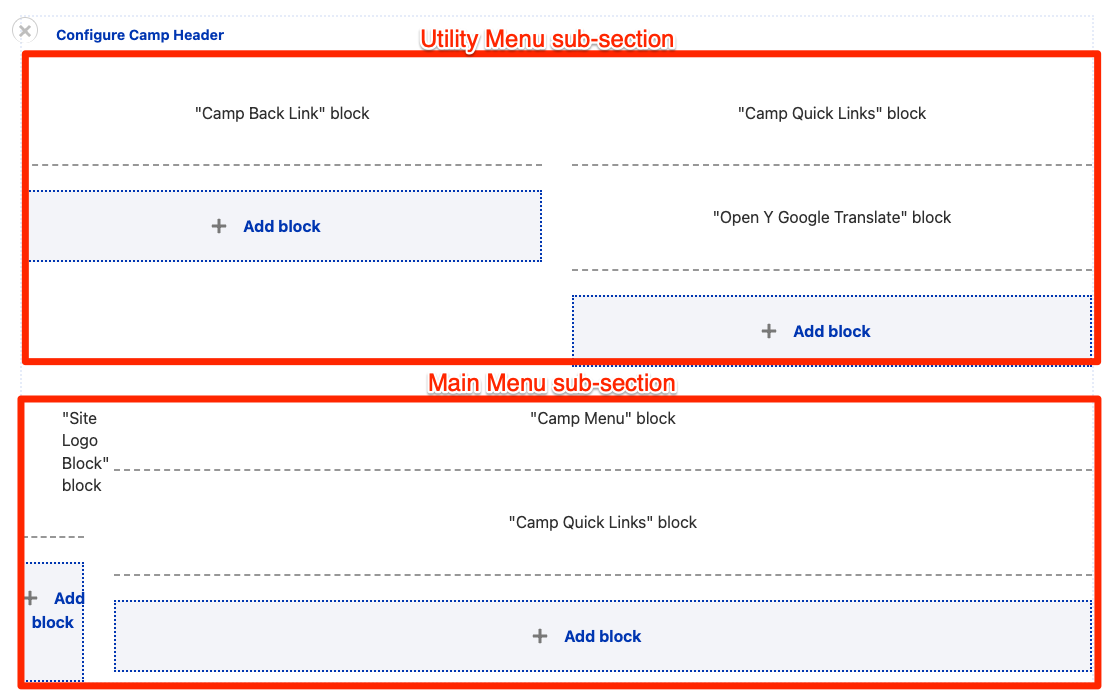
Camp Header Layout
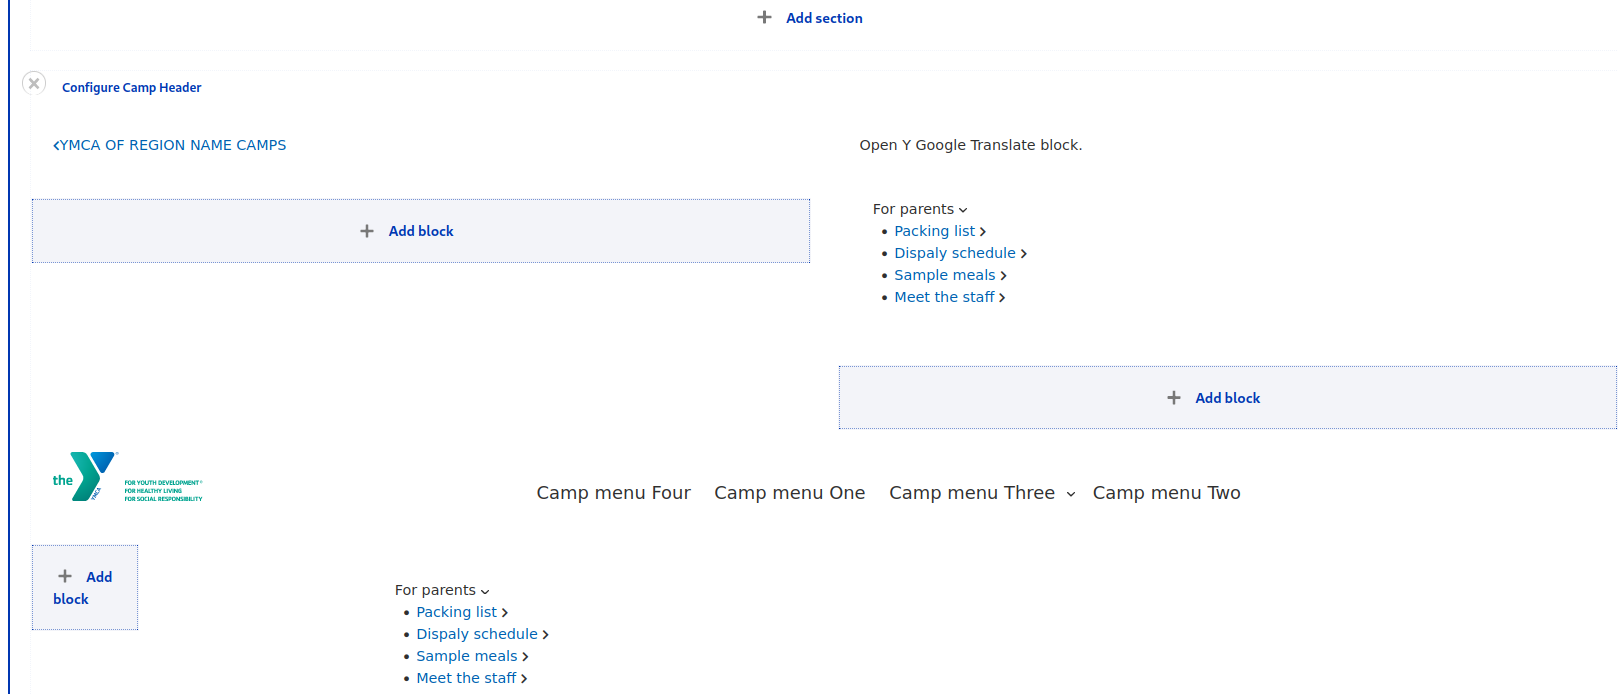
When you create a new Camp page or switch an existing one to use Layout Builder, it will come with a pre-set Camp Header Section, which enables the configuration steps above. If you find some of those blocks are missing, you can restore them manually.
To completely start over, use the x to the left of Configure Camp Header to delete the section. Add a new Section and choose the WS Camp Header layout. Then, add the following blocks by selecting Add block in the corresponding region.
The default configuration for a the Camp Header block should be:
Utility Menu
Left
All system blocks > Camp blocks > Camp Back Link
Right
Create custom block > Camp Quick Links
All system blocks > OpenY > Open Y Google Translate (optional)
Main Menu
Left
All system blocks > Common blocks > Site Logo Block


